How To Put On Fake Nails At Home -- The Easy Way!
Applying fake nails might sound complicated but it’s not. Promise! To ensure your application goes smoothly and to help with maximum wear time – I’ve compiled my best tips into a complete guide on all things you need to know for how to put on fake nails before picking up that nail glue so you can have beautiful nails without the salon visit! UPDATE: Included at the end is info on removing fake nails the correct way to protect your natural nail health!
A trip to the nail salon has become a distant memory since my third child was born.
I was not blessed with strong natural nails and I’ve always teased I have boy hands – so acrylic nails are something I’ve always worn. When my husband and I decided I would stay home with the children and we would go down to a one income household it meant my nail salon trips would need to turn into a special occasion versus a bi-weekly trip. Which made me realize my real nail had to become my new norm and I wasn’t quite ready to accept that fact. So I ventured into the world of press on nails.
After some major trial and error – I’ve come to find products which are high quality, inexpensive, can be easily applied and give me long wear time. There is nothing more upsetting than spending an hour on applying fake nails to have a nail pop off a couple of hours later!
I’m positive you’ll be a pro at applying fake nails at home which look real and salon quality in no time after reading this guide.
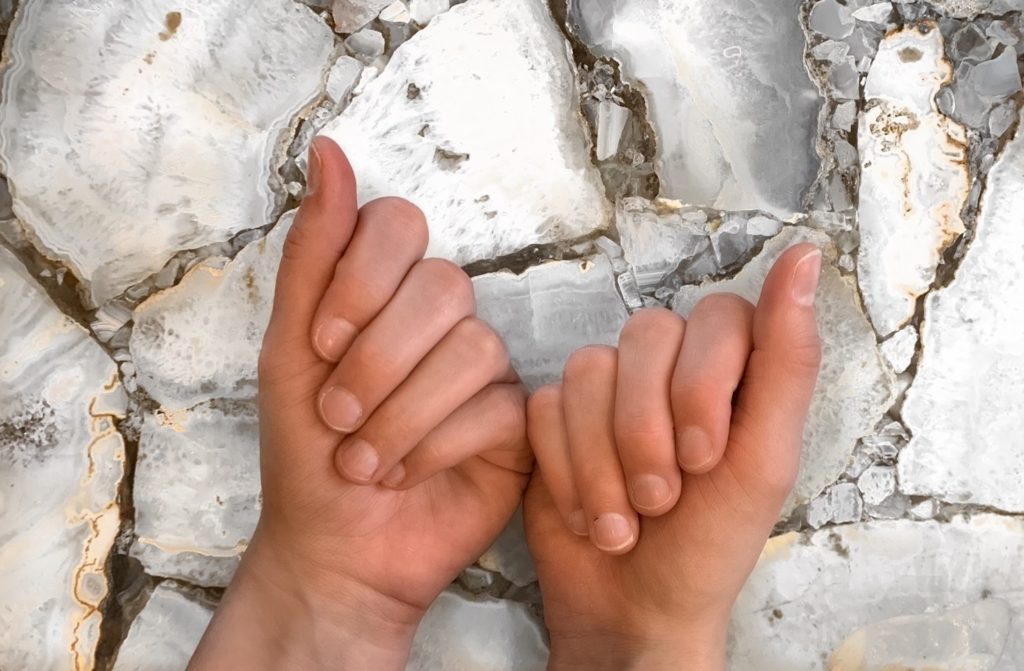
THE
BEFORE
PICTURE
What You'll Need
Nail clipper
I find this grit to be the best for filing the rounded bottom of the nail when fitting it to your nail bed.
I find this grit to be the best for filing the top of the nail once you’ve cut it to your desired length.
Nail Polish
If you take the time to apply these fake nails the correct way (which I’ll be explaining the proper steps below) I almost always get a two week wear time which says A LOT because this momma is hard on her hands! I’ve found these fake nails to be thin and natural looking and they do not easily bent – which is a major problem with press on nails!
I wash dishes, I scrub the house, I play outside, I crawl after the kids on the floor; anything you can think of that would make these bad boys pop off but they hold on tight!
I’ve even found them to be durable enough for a nail polish color change mid wear.
I can quickly swipe them with nail polish remover and they clean up perfectly for me to apply my new color!
Be SURE you wash your hands to ensure your natural nails are clean and polish-free when applying these fake nails.
Once the fake nails are applied – Do your best to not get them wet for at least 1 hour and do not submerge in water for at least 12 hours.
FULL GUIDE FOR HOW TO PUT ON FAKE NAILS AT HOME
Step One:
The nails come in a plastic container divided into 10 nail sizes. Go through and compare the different nail sizes to your natural nail to find your perfect fit.
Make sure you press the fake nail tight to your actual nail bed when size checking because this will be the true fit once it’s adhered with the nail glue.
** If you can’t find a perfect fit. It’s better to choose a nail size that is slightly larger than your cuticle line rather than smaller. You can easily file down the side of a larger fake nail to fit properly versus choosing a nail too small and have a gap showing!**
You’ll notice on the inside of the nail at the very top there is a small number which represents the nail size.
I write this number down on a tiny piece of paper and keep it in the nail box so I don’t have to re-find my size every time I apply new nails.
Step Two:
For each finger individually take the correct nail size you’ve chosen and using the 100 grit nail file – make the rounded bottom portion of the fake nail fit along the inside of your cuticle bed. This step is the most time consuming – of the whole process.
Make sure you clean up the edges after filing so you don’t have extra nail hanging off to interfere with your glue adhesion.
Once the fake nail is shaped to fit your nail bed place it aside in a line so you don’t lose track of which finger it belongs to for when you begin gluing them.
Each nail bed is different and if you skip this step it can make the fake nail:
A. sit too deep under your cuticle line which becomes very uncomfortable
or
B. allow air to get under once the nail glue is applied which causes the nail to pop off
Step Three:
This is a very important step! I believe it’s a make or break for the nails to have a long wear time!
You should push back your cuticles for the longest wear time. Then, using the 180 grit nail file lightly scuff the top surface of your natural nail. Lastly, using an alcohol wipe or rubbing alcohol swipe across your nail bed to remove and debris or oils. Doing this allows the nail glue to really adhere!
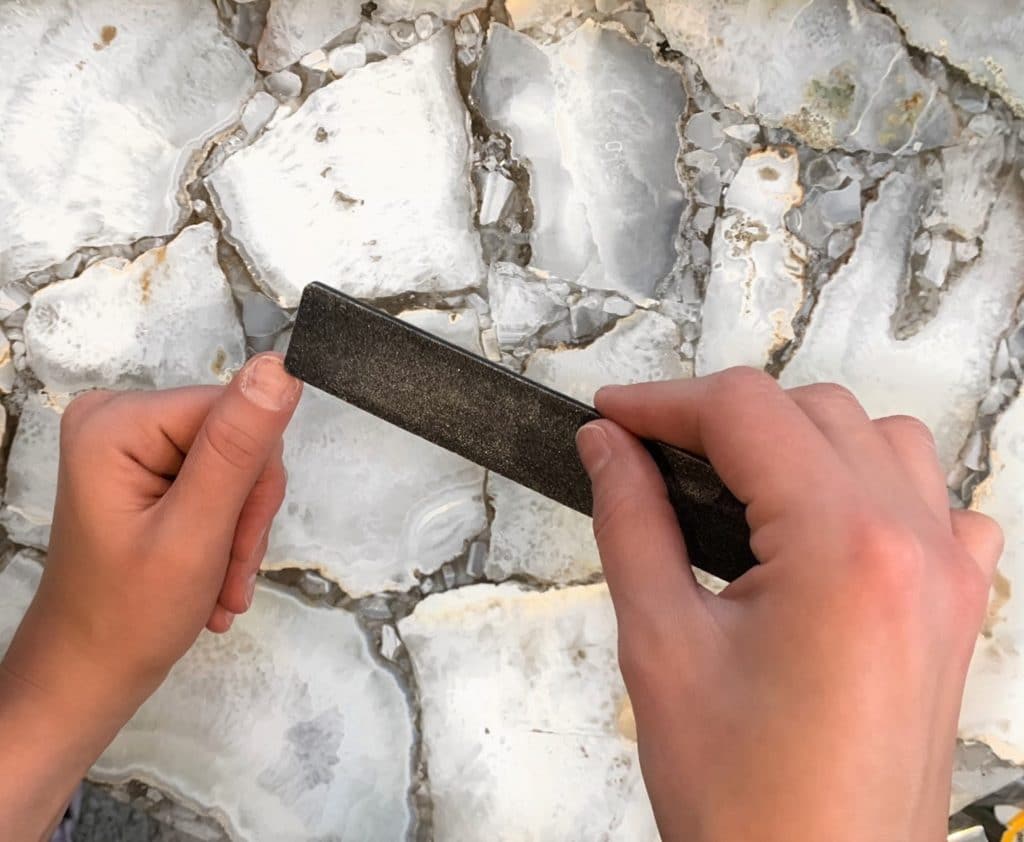
Steps 4 & 5 & 6 need to be done swiftly so the nail glue doesn’t dry. You have about 45 seconds before the glue looses tack once it is applied to the nails.
Step Four:
Squeeze a tiny amount of nail glue into the inside bottom (rounded side) of the fake nail, spreading it with the tip of the nozzle so it covers about the same area as your natural nail.
Step Five:
Next, Squeeze a tiny amount of nail glue onto your natural nail, spreading it with the tip of the nozzle so it covers your entire nail bed.
You do not want to add too much nail glue because it can goop out of the sides when the fake nail is applied but be sure you bring the nail glue down as close to your cuticle as possible without getting it on your skin.
It is very important you get a tight and solid adhesion around your cuticle line.
Step Six:
Holding the tip of the fake nail – use your best judgement to try and get it to line up straight and press the fake nail onto your glue covered natural nail.
If you do notice the nail is a bit crooked you can either leave it or pry it off and start from the beginning.
Personally if I apply a crooked nail I will try to file it to hide that it is not 100% straight because starting over is a bummer and also trying to take off a freshly glued on nail is not the best feeling!
Be sure to firmly press on the base of your nail for 20 seconds or so before letting go. This makes sure the fake nail does not release and create air pockets underneath.
Repeat these three steps until all of your fingers are covered with the press on nails.
QUICK NOTE: Applying these nails to your dominant hand is usually a bit trickery! Be sure to take your time so the nail glue doesn’t get all over.
** If nail glue does squeeze out of the sides you can use your orange stick to scrape off the excess if it hasn’t already dried. Acetone nail polish remover also works very well for getting glue off your skin. As does time passed. The nail glue usually within a couple of hours will work it’s way off by flaking into small pieces.**
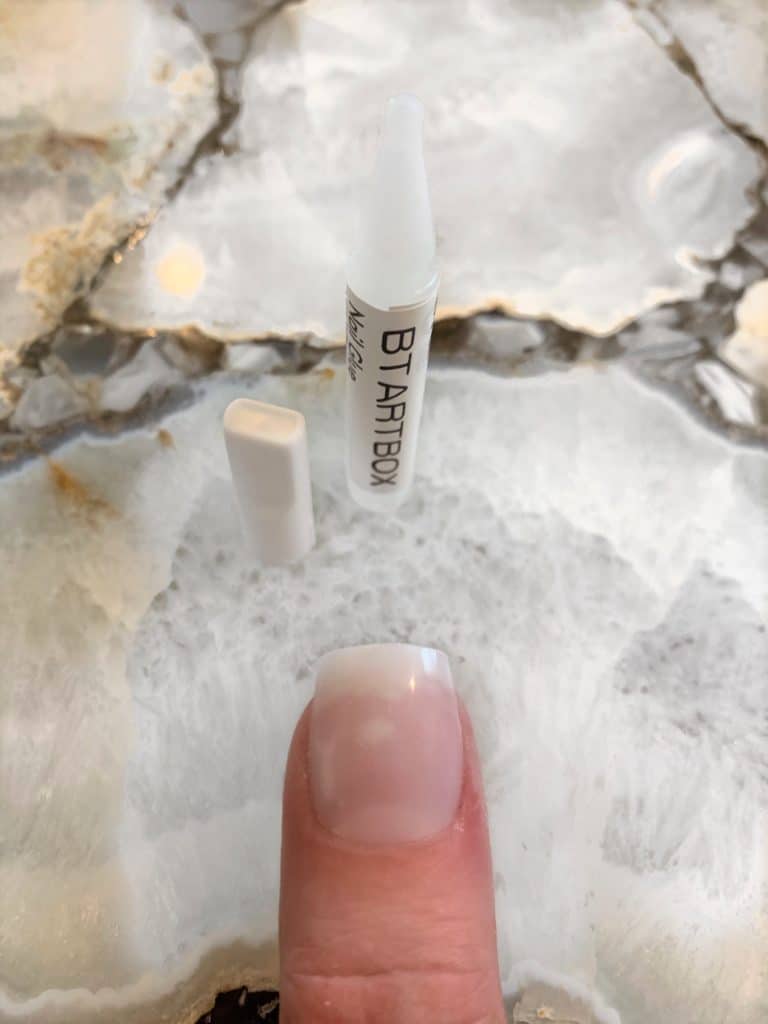
As you can see in this picture: the white pockets underneath are air pockets. You want to try and have as FEW as possible. None is the BEST outcome! If you see white along the edge of the nail along your cuticle you can use the nail glue tip to ever so slightly apply glue to try and fill the air pocket. It doesn’t take much at all to fill the air pockets and I would only attempt this if the pocket is large.
If you’ve gotten glue on the top of the fake nail you can use acetone nail polish remover to help get it off. Be sure to not scrub too hard or saturate the fake nail in the acetone because it will start to eat into the fake nail itself and turn it gummy.
Step Seven:
Now it’s time to cut and shape the fake nails into your desired length.
I use a nail clippers to cut the nail about a centimeter above where I want the finished nail length to be. It’s better to cut the nail longer and file it down versus cutting it too short.
I use the 100 grit nail file to make the fake nail straight across and the 180 grit to file into my desired shape.
Step Eight:
Use the cuticle pusher/orange stick to separate any skin from underneath the fake nail that may have stuck due to excess glue that gooped out.
Here are what my fake nails look like before applying nail polish.
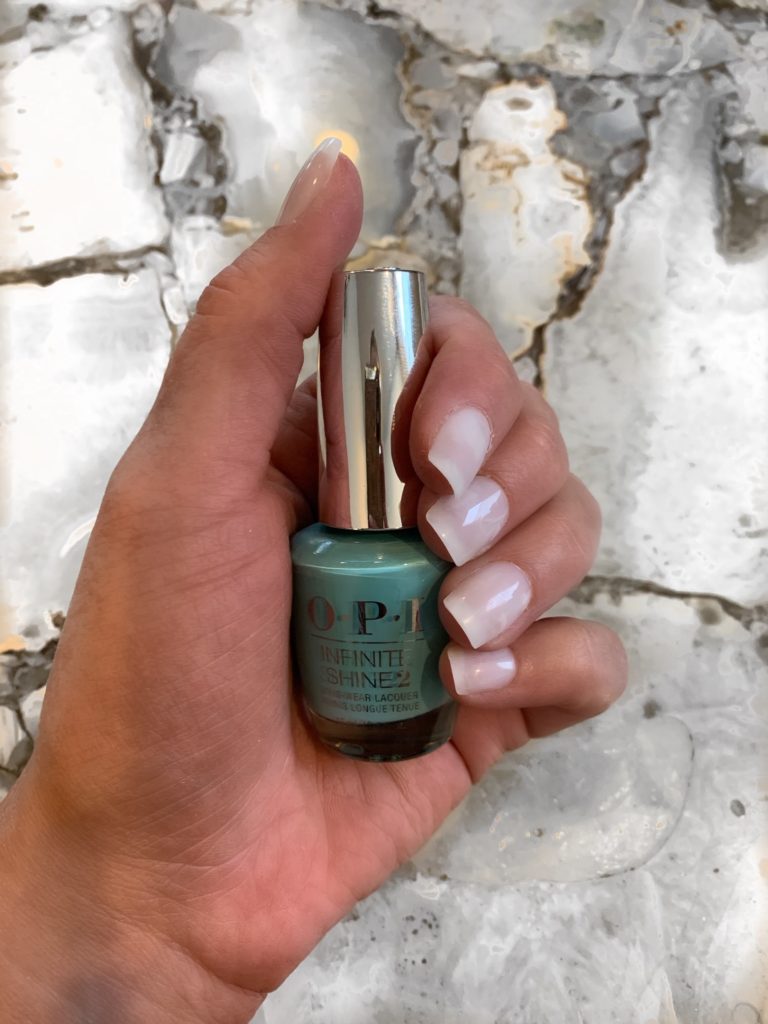
Step Nine:
It’s time to paint your nails with two coats of nail polish and whatever nail art your heart desires! Be sure to paint along the flat tip of the fake nail. (This is where you filed the nail down to your desired length)
Congratulations!
You’ve mastered fake nails 101!!
The nails may be fake but the glamour is real!
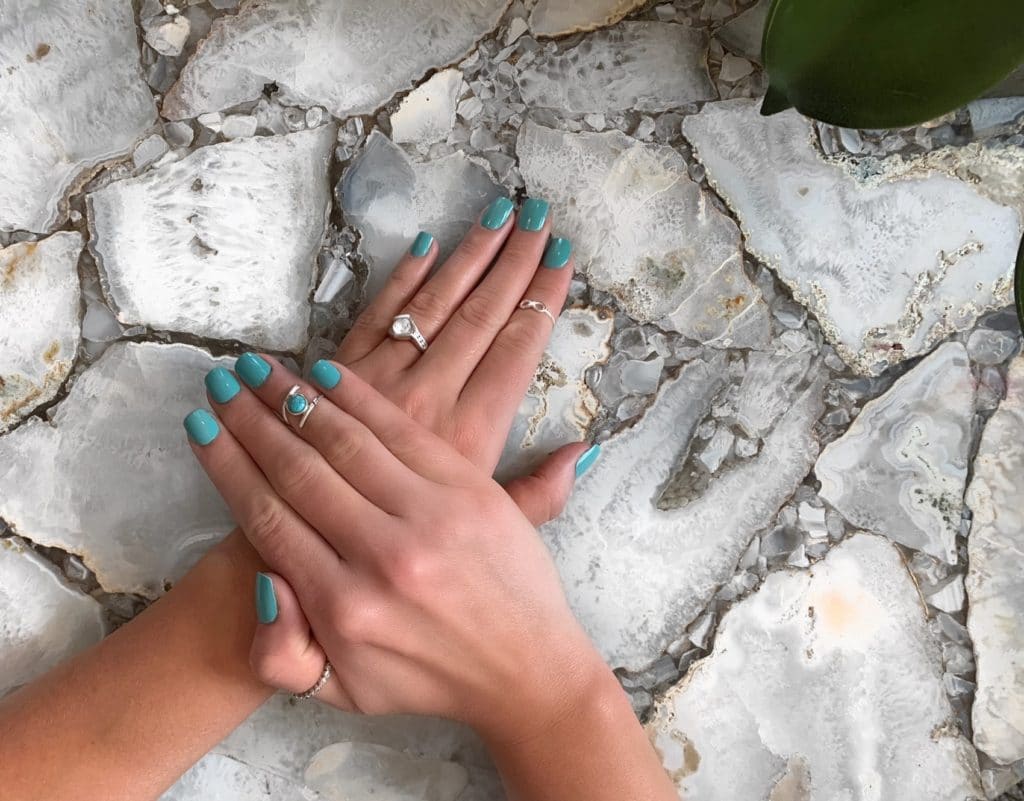
If you felt my guide for how to put on fake nails was helpful I’d love for you to share this guide with your friends!
UPDATE:
In my original post I did not include a section talking about how to remove fake nails. I’m fixing that now!!
Removing Fake Nails
Two words: Warm Water
The absolute best way to remove fake nails is to soak your nails in warm water!
Personally, when it’s time for me to remove my fake nails I take a nice long bath. I leave my hands under the warm water for as long and as much as possible. This really helps to get the plastic press on nails pliable and loosen them up around the edges.
After my hands have been soaking I’ll use an orange stick and starting at the cuticle start to pry them up and off.
Generally, using this method for removing fake nails is relatively straight forward and doesn’t give much hassle. If you do find you have a stubborn nail you’ll need to have acetone on hand. Quickly soaking that stubborn nail in acetone should do the trick. The acetone breaks down the nail glue and should tremendously help with the removal process.


1 comment
[…] single handedly has transformed my “boy hands” I always covered up with fake nails and complained about — to fingernails I no longer feel ashamed of. This product has been a […]